When I first saw this DIY Scandinavian inspired star garland on Creature Comforts blog, I knew this type of craft was right up my alley. First, it didn’t seem too difficult (I’m a level C crafter) and second, I’m slightly obsessed with baker’s twine and have been searching for the perfect excuse to buy some (purchased here).
Along my crafting journey, I found about half of the garland’s supplies at Michael’s (clay and star cookie-cutter) and half at JoAnn (gold sequins…ok I bought a couple bags of gold sequins, don’t judge), and started DIYing! I seriously love festive crafternoons, don’t you?
If you’re dying to make a last-minute holiday craft, here are the very simple steps to make this garland (for a more complete tutorial, go to Creature Comforts):
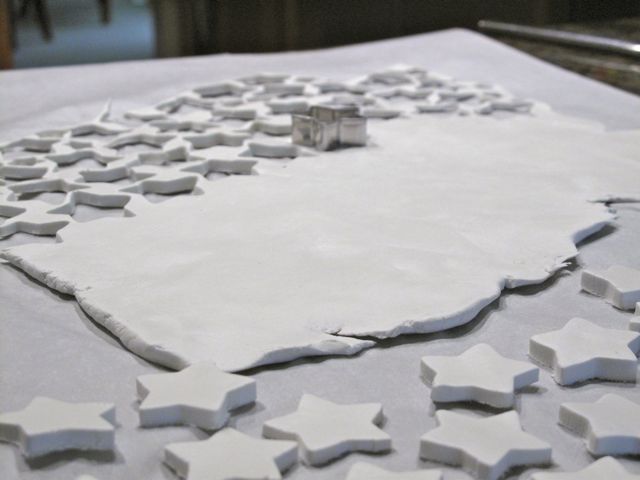
1. Roll out the clay evenly on a flat surface and use the star-shaped cutter to cut out the stars. Once all of the stars are cut out, make sure to let the clay dry for at least 10 hours or until it’s hard.
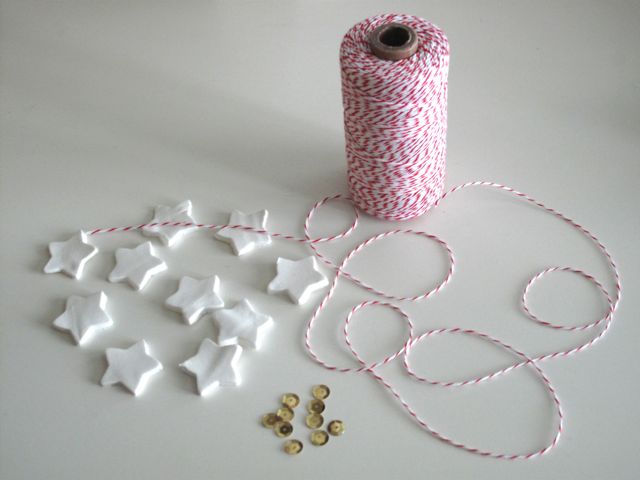
2. Admire all of the pretty components while you wait for the hot glue gun to heat up.
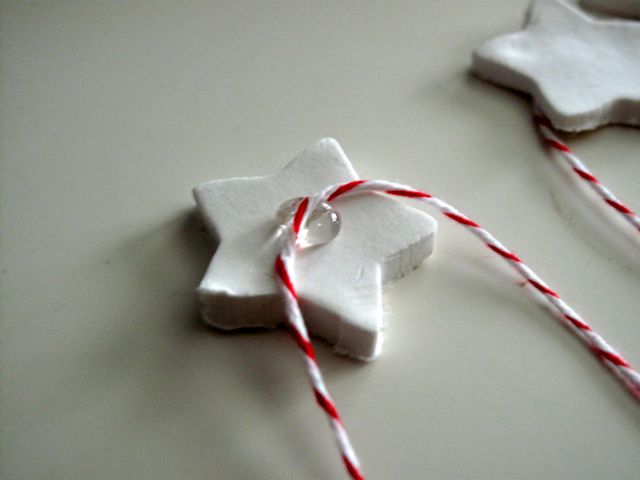
3. With the hot glue gun, dab a small circle of glue in the center of the star, adhering the baker’s twine to it.
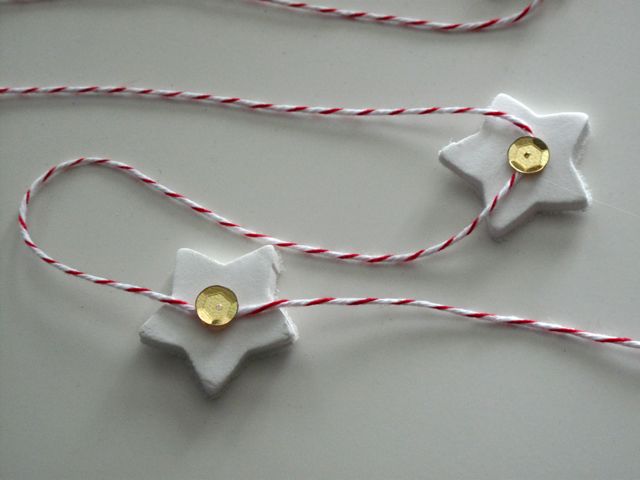
4. Place a gold sequin over the glue and baker’s twine so that it all fastens securely to the star.
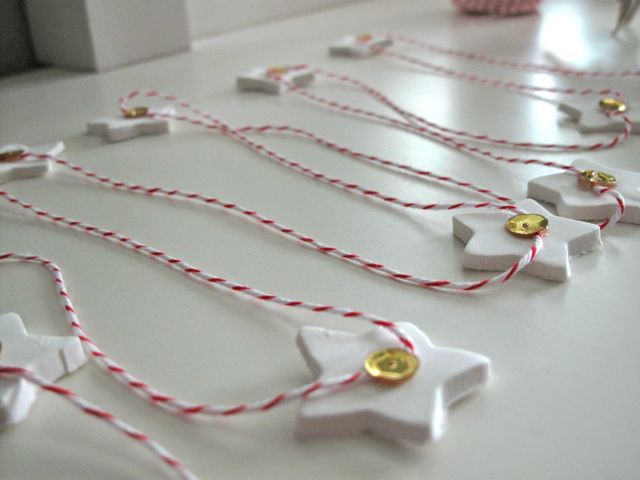
5. Once you’ve made the garland to your desired length, let the glue dry. Technically, you should let it sit for at least 30 minutes but if you’re anything like me, you’ll stare at the drying glue for all of 45 seconds and immediately hang it on the tree.
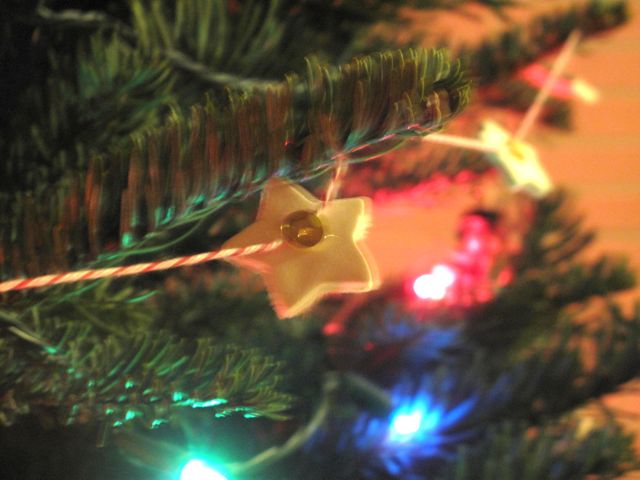
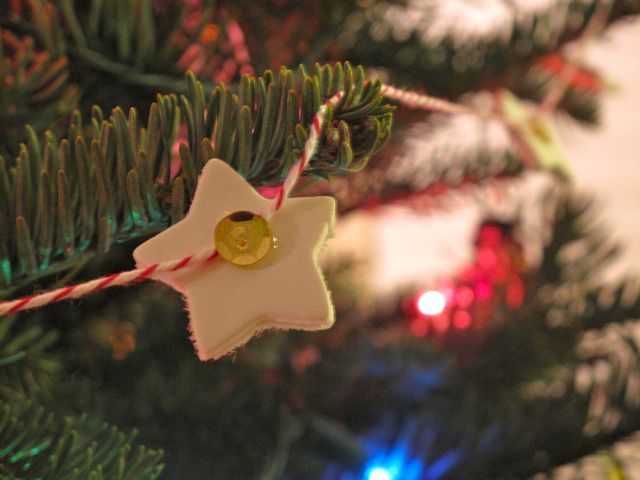
6. And that’s exactly what I did! I hung it on my blurry tree. Oh wait, you thought it was my photo that was blurry? No, we have a blurry tree.
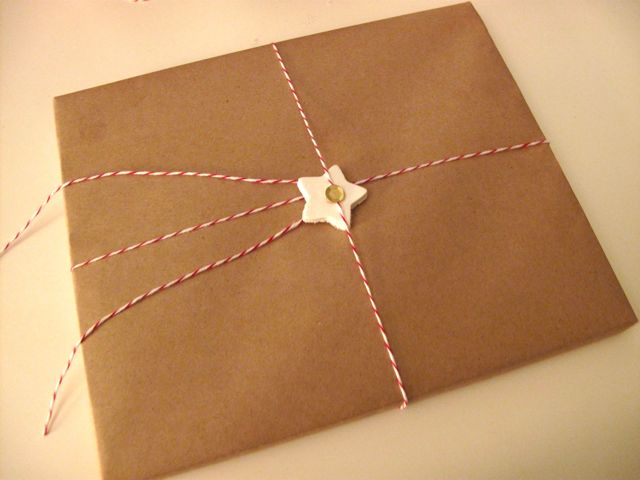
7. Or use it as gift wrap. Personally, this is my favorite part of the DIY garland. It makes all of your gifts that much more personal and special. For example, that’s a piece of cardboard above but since it’s adorned with a homemade touch, it’s easily transformed into the best gift under the Christmas tree.

LOVE this as gift wrap! super cute! happy holidays my dear! <3
this is so cute janners! i love it!!
This is so unique! I love how you used it for gift-wrapping!
aww thanks friends! merry christmas!
Pingback: Homemade Sea Salt Caramels | The Style Eater