Tag Archives: diy bookshelf

Apartment Details

December 3, 2012

Filed Under : INTERIORS

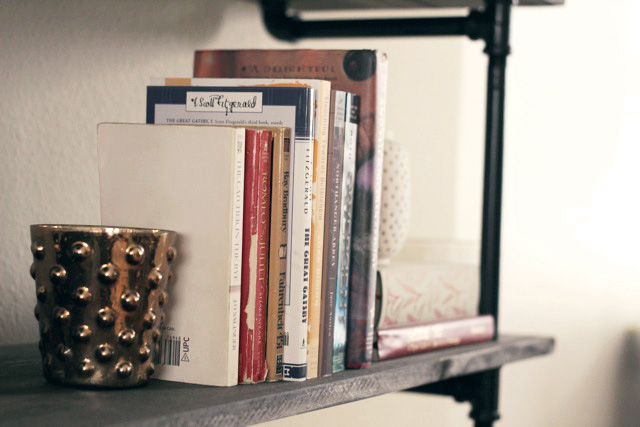
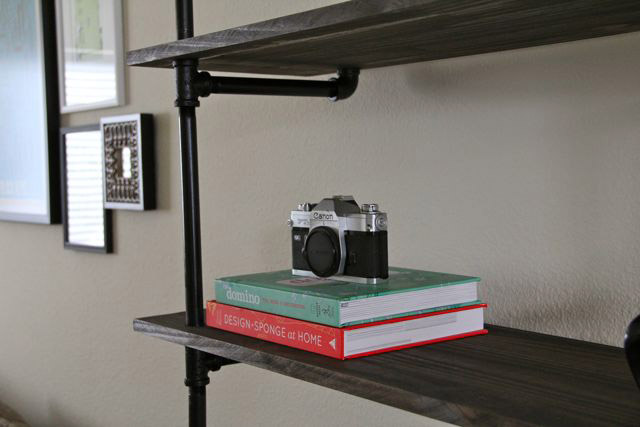
1/ a few of my favorite books on this bookshelf
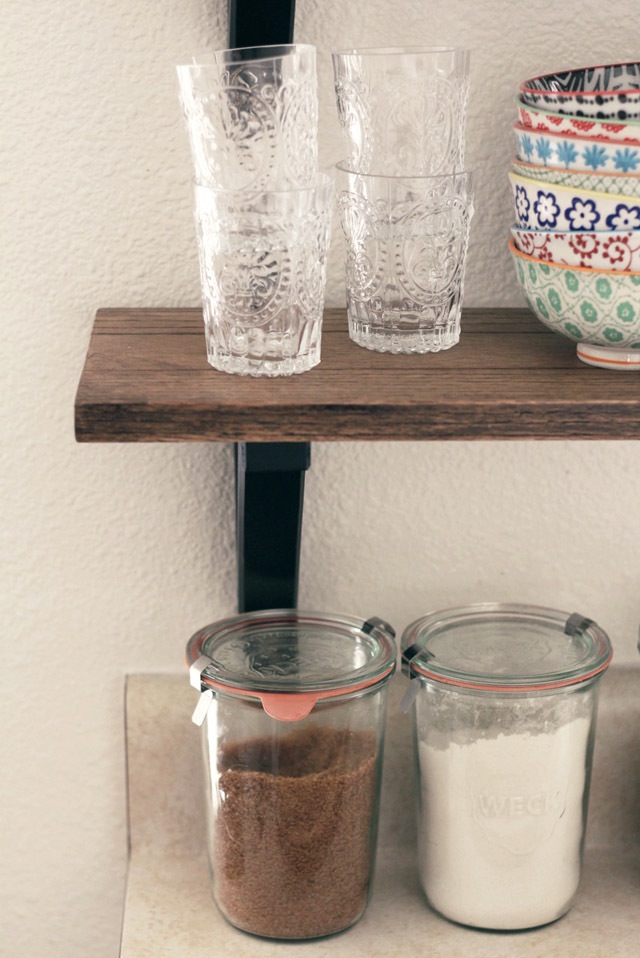
2/ new anthro cups on my kitchen shelves
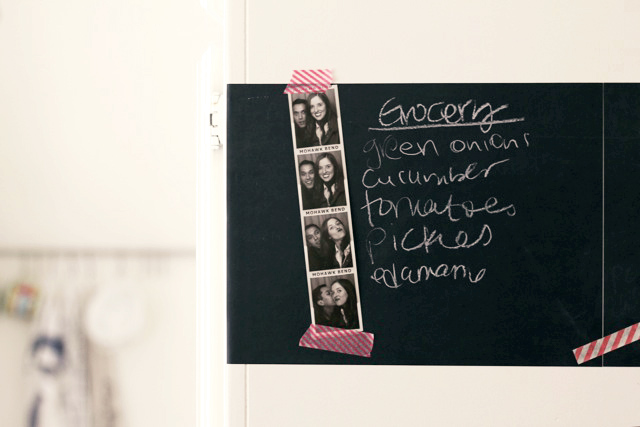
3/ chalkboard decal that always has a grocery list on it
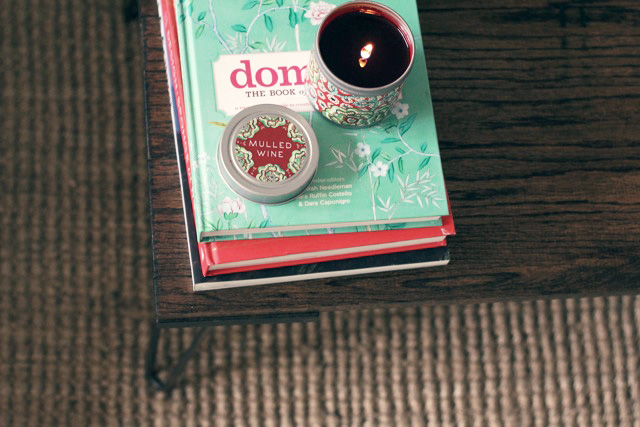
4/ coffee table (need to share the DIY for it still!) with my favorite holiday candle
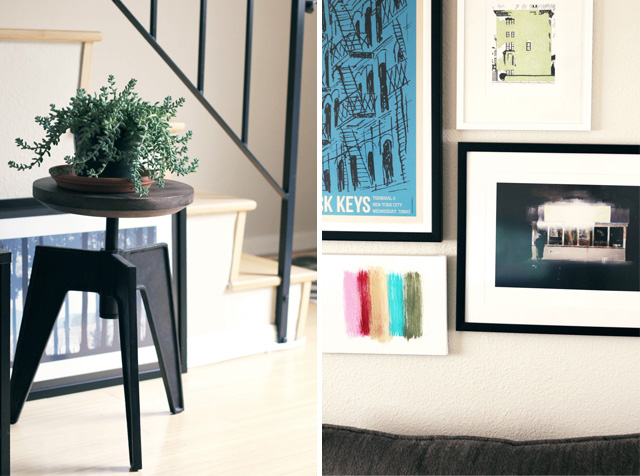
5/ next to the staircase, my plant soaking up some sun
6/ a small section of the gallery wall
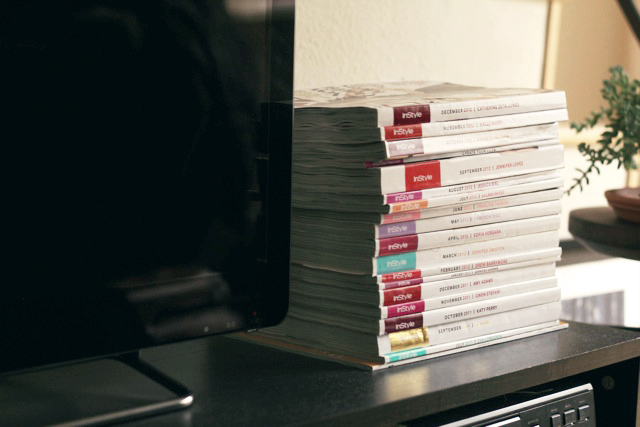
7/ my stack of InStyle magazines next to the TV
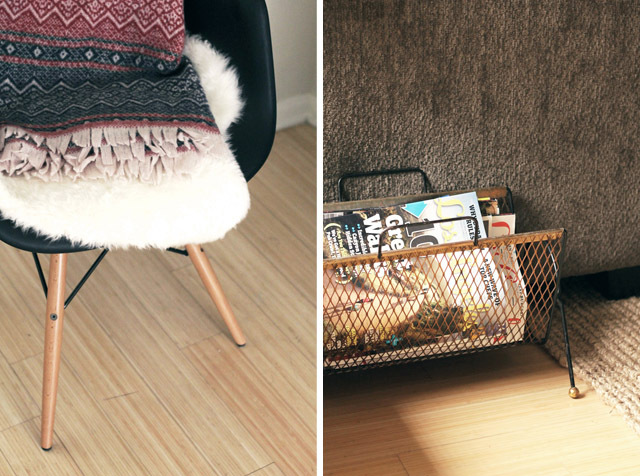
8/ a cozy seat in the living room
9/ magazine rack next to the couch

I’ve lived in my current apartment for almost 2 years now (so crazy) and I haven’t really shared much of it on the blog.  I just feel like it’s always evolving and has never been ready for a full-on dedicated post.  But eh, we’re thinking about moving again so I thought I’d better take some photos of the place before we jump ship.

Speaking of jumping ship, I’ve officially deemed “apartment hunting in Santa Monica” as the most difficult task I have ever tried to complete.  You think you’ve found the perfect place and then BAM it has no parking.  Or it has no stove.  Or it has no doors.  Something weird like that.  Really, landlords of Santa Monica?  Get it together.

Speaking of getting it together, this weekend was so unproductive and I loved every second of it.  Lazy weekends are the best. I did go to UNIQUE LA on Sunday, which was amazing by the way.  But other than that, I spent a lot of time on the couch, catching up on shows, knitting, reading, writing – lots of happy things.  Unproductivity is the best, am I right?

DIY Bookshelf

December 5, 2011

Filed Under : DIY - INTERIORS

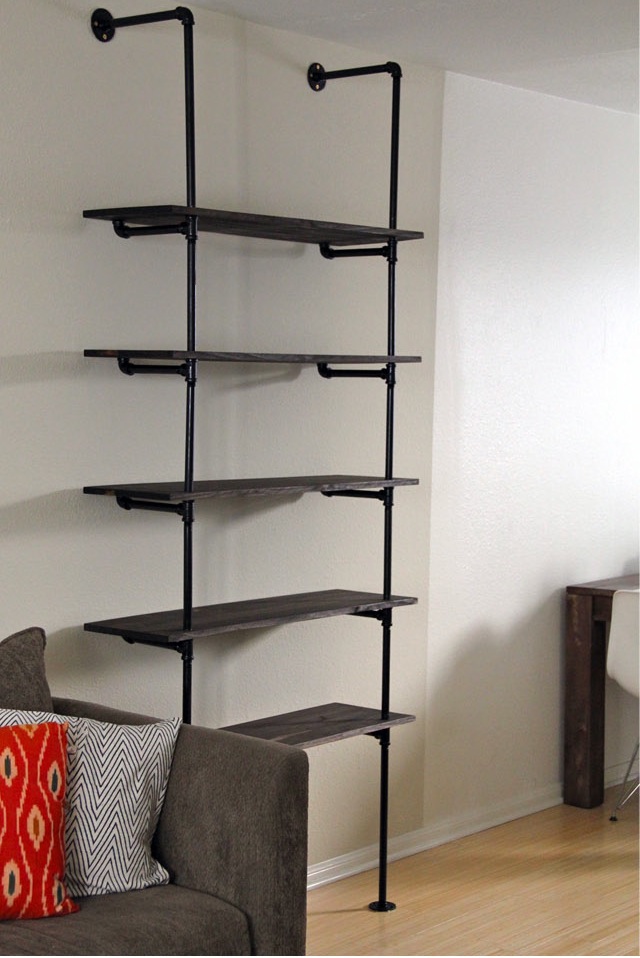
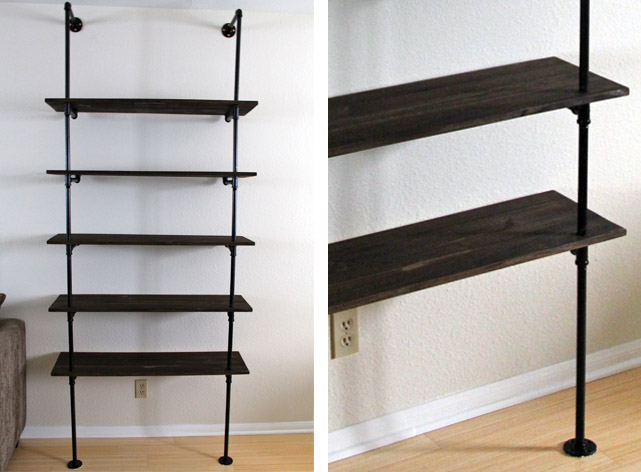
DIY shelving unit

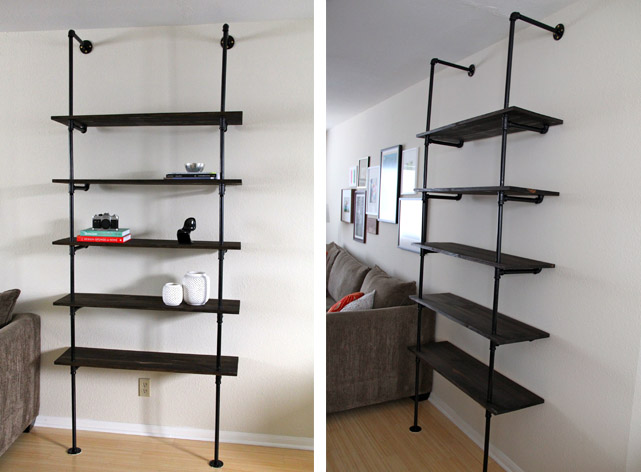
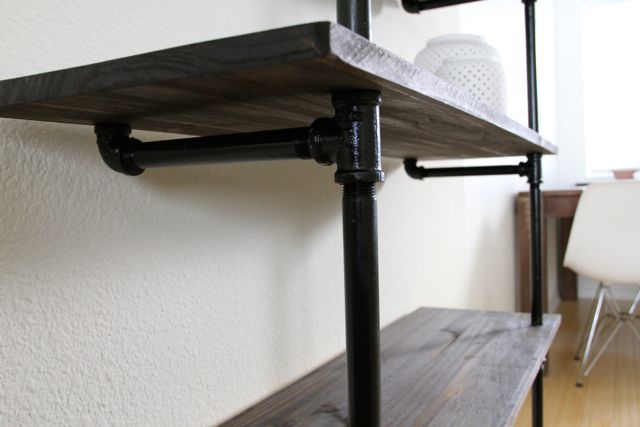
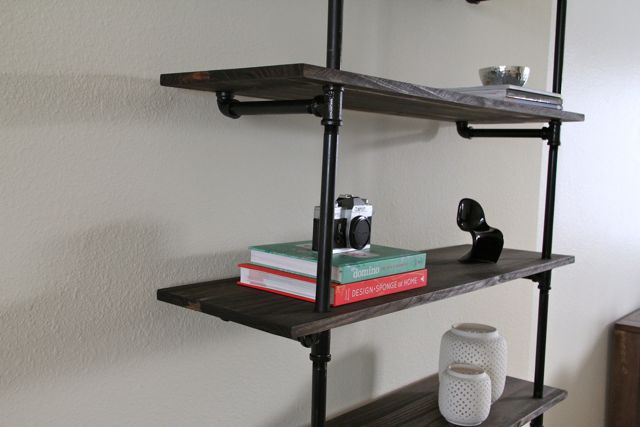
Over Thanksgiving weekend, Kyle decided to build us a bookshelf.  Totally on a whim!  I like when he does things like that.  We used this DIY from The Brick House and absolutely loved the results.  Exactly the right level of industrial chic we were looking for.  Don’t ask why the wall is 2 different paint colors, though.  That’s the landlord’s fault.  I mean, 2 paint colors on one wall…really??

But back to the unit…we put a few things on the shelves for now but plan to add lots of flea market goods and old books as soon as possible.  Can’t wait until it’s all finished!

DIY shelving unit

DIY shelving unit

DIY shelving unit

DIY shelving unit

DIY shelving unit

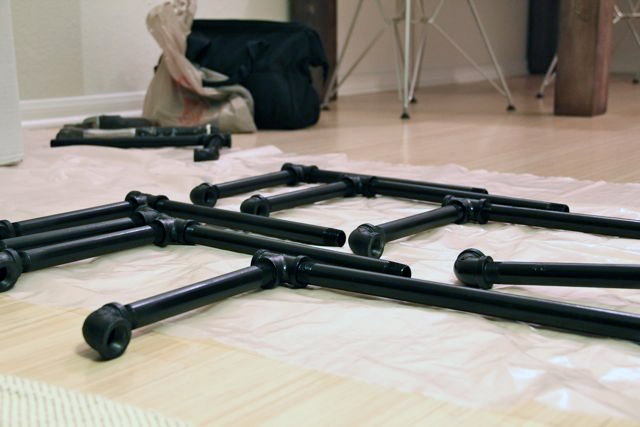
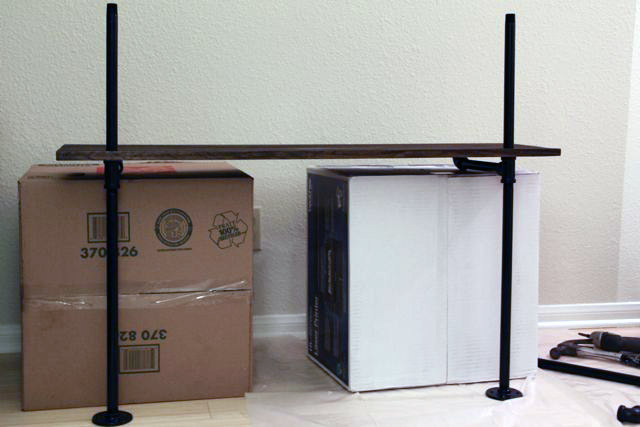
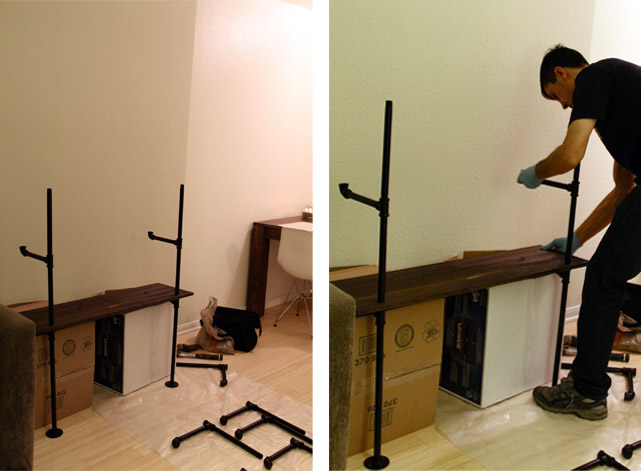
Now on to the “building” part.  I can’t really take credit for any of it, not gonna lie.  I took the photos and held a pipe every once in a while, but Kyle (the Tool Man Taylor…har har) did all the manual labor.  Full disclosure: this was NOT an easy project.  It took about 7 trips to Home Depot and lots of F bombs.  We put it together once, had to take it apart, and then put it together again.  But now that it’s up and attached to the wall, I couldn’t be happier with the results!

The full size of the bookshelf is 40″ wide by 92″ tall by 12″ deep.  In total, it cost us about $250 and 12 hours of labor (over the course of a week).

Here are the parts we use:
Pipe (1/2″ gas pipe)
4  – 18″
10 – 8″
2 – 10″
8 – 12″

Fittings
4 base flanges
10 tees
12 90º elbows

Wood Shelves
5 – 40″ x 12″ x 1″ pine (custom cut at Home Depot)

Wood Finishes
1 Minwax wood conditioner (to prep before the stain)
1 Minwax wood stain in “dark walnut”

Rustolem gloss spray paint (for the pipes)
1 – black

Screws
8 – #12 2.5″ wood screws (to screw into the wall)

Other tools
Prep All Spray (to clean the pipes before spray painting)
Extra fine sand paper, 220 (to sand the wood before staining)
7/8″ Hole Saw (to drill the holes into the wood)
Hand drill
Stud finder
Lots of brute strength (seriously, you need some muscle)

Important things to note:
+ Clean pipes thoroughly with soap and water and THEN with Prep All spray to get rid of the oil
+ Because studs are most commonly 16″ apart, make sure the holes you drill in the wood are either 16″ apart or 32″ apart (or 48″ apart, so on and so forth in multiples of 16 – ours are 32″ apart)
+ Again regarding studs, it’s super important to drill the unit’s top base flanges into studs for maximum support (which is why we made the wood holes 32″ apart)

DIY shelving unit

DIY shelving unit

DIY shelving unit