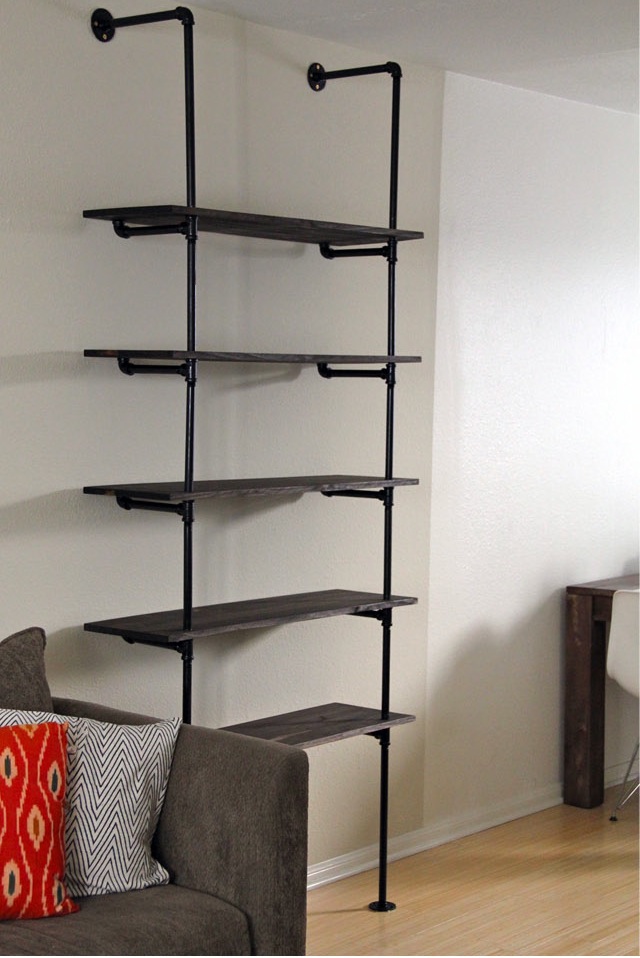
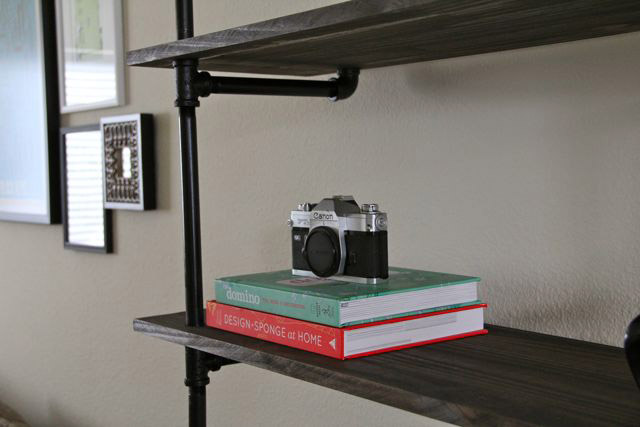
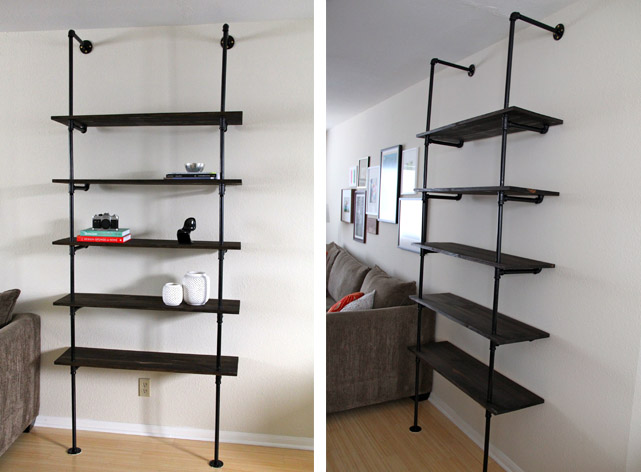
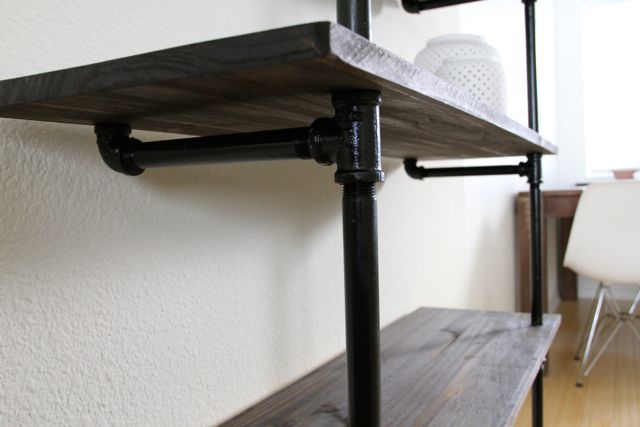
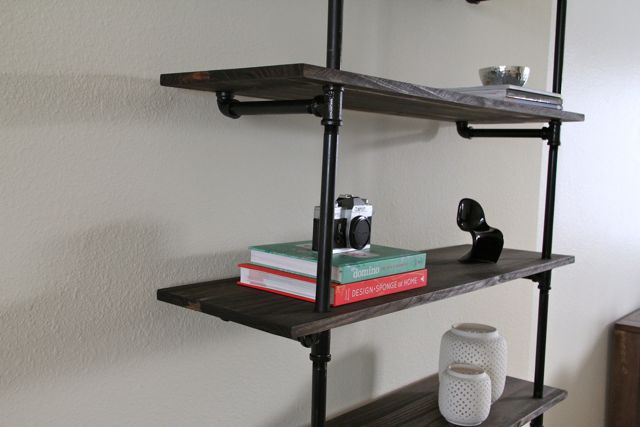
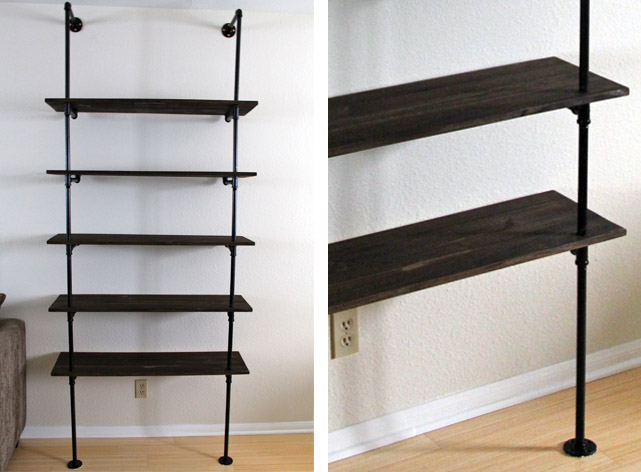
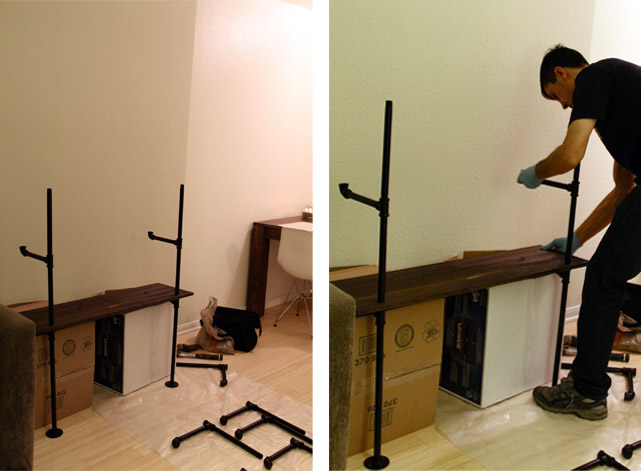
Over Thanksgiving weekend, Kyle decided to build us a bookshelf. Totally on a whim! I like when he does things like that. We used this DIY from The Brick House and absolutely loved the results. Exactly the right level of industrial chic we were looking for. Don’t ask why the wall is 2 different paint colors, though. That’s the landlord’s fault. I mean, 2 paint colors on one wall…really??
But back to the unit…we put a few things on the shelves for now but plan to add lots of flea market goods and old books as soon as possible. Can’t wait until it’s all finished!
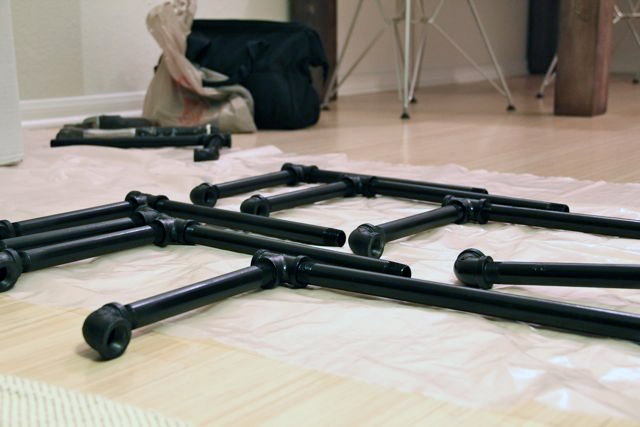
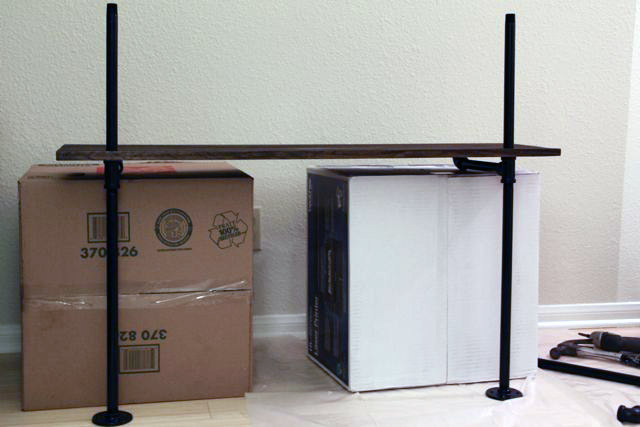
Now on to the “building” part. I can’t really take credit for any of it, not gonna lie. I took the photos and held a pipe every once in a while, but Kyle (the Tool Man Taylor…har har) did all the manual labor. Full disclosure: this was NOT an easy project. It took about 7 trips to Home Depot and lots of F bombs. We put it together once, had to take it apart, and then put it together again. But now that it’s up and attached to the wall, I couldn’t be happier with the results!
The full size of the bookshelf is 40″ wide by 92″ tall by 12″ deep. In total, it cost us about $250 and 12 hours of labor (over the course of a week).
Here are the parts we use:
Pipe (1/2″ gas pipe)
4 – 18″
10 – 8″
2 – 10″
8 – 12″
Fittings
4 base flanges
10 tees
12 90º elbows
Wood Shelves
5 – 40″ x 12″ x 1″ pine (custom cut at Home Depot)
Wood Finishes
1 Minwax wood conditioner (to prep before the stain)
1 Minwax wood stain in “dark walnut”
Rustolem gloss spray paint (for the pipes)
1 – black
Screws
8 – #12 2.5″ wood screws (to screw into the wall)
Other tools
Prep All Spray (to clean the pipes before spray painting)
Extra fine sand paper, 220 (to sand the wood before staining)
7/8″ Hole Saw (to drill the holes into the wood)
Hand drill
Stud finder
Lots of brute strength (seriously, you need some muscle)
Important things to note:
+ Clean pipes thoroughly with soap and water and THEN with Prep All spray to get rid of the oil
+ Because studs are most commonly 16″ apart, make sure the holes you drill in the wood are either 16″ apart or 32″ apart (or 48″ apart, so on and so forth in multiples of 16 – ours are 32″ apart)
+ Again regarding studs, it’s super important to drill the unit’s top base flanges into studs for maximum support (which is why we made the wood holes 32″ apart)

